Not everyone requires a full-fledged microcontroller board like the Arduino Uno or Raspberry Pi for their simple projects. These boards typically range from $15 to $100, depending on your budget. However, if you’re working on a small project that only needs a few I/O pins, there’s no need to blow your entire coffee budget. Instead, you can create an ultra-low-cost DIY Arduino for just about $0.50.
They are those who spend neither wastefully nor stingily, but moderately in between.
Quran 25:67
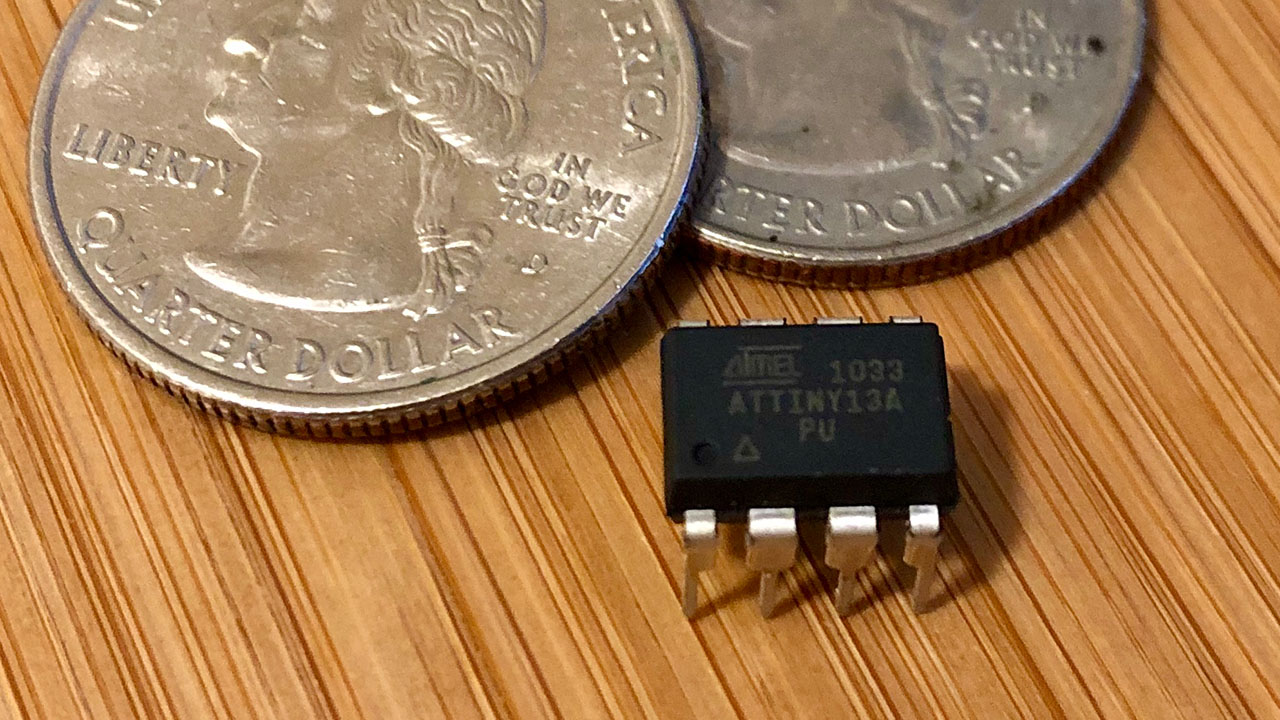
Introduction to ATtiny13A
The ATtiny13A is an excellent choice for those seeking an affordable alternative. It delivers enough functionality for basic tasks without breaking the bank. Moreover, despite its low cost, it offers impressive versatility, making it ideal for DIY enthusiasts who want to build simple projects.
Getting Started
To get started, you’ll need an ATtiny13A microcontroller along with a few basic components to set up your circuit. Here are some essential items you’ll need:
- ATtiny13A microcontroller
- AVRISP mkII programmer
- Breadboard and jumper wires
- 10k ohm resistor
- LED

Circuit Setup
Setting up the circuit is quite straightforward. The ATtiny13A features a minimal pinout, which simplifies connecting the necessary components. You can refer to the simple schematic provided:

Ensure that you connect the ATtiny13A correctly to the AVRISP mkII programmer. This step is crucial for establishing proper communication and programming of the microcontroller.


Burn the Bootloader
Since Arduino doesn’t support the ATtiny13A chip out of the box, you’ll need to install it through the Additional Board Manager. Follow the instructions available on GitHub to add support for the ATtiny13A.
After installing the new board, choose:
- Tools > Board > MicroCore > ATtiny13.
- Leave the default BOD at 2.7V.
- Leave the default Clock at 9.6 MHz internal oscillator.
- Keep Micros disabled.
- No need to select any Port since we will use the AVRISP mkII for both burning the bootloader and uploading sketches.
- Now choose Tools > Programmer > AVRISP mkII slow (MicroCore).
Before burning bootloader, make sure you are providing external power to the microcontroller at pin 8 (VCC)and pin 4 (GND). If all connections are good, you should see the green LED light on your AVRISP. Now you can click Tools > Burn Bootloader.
Before burning the bootloader, make sure you are providing external power to the microcontroller at pin 8 (VCC) and pin 4 (GND). If all connections are good, you should see the green LED light on your AVRISP.
Now you can click Tools > Burn Bootloader.
Upload the Sketch
Next, let’s upload the typical blink sketch to the newly programmed ATtiny chip. The code will look very similar to the standard blink sketch, with the only difference being that the pin number is 4 instead of 13 or LED_BUILTIN. Pin 4 corresponds to the PB4 pin from the datasheet, which is the third pin on the chip.
void setup() {
  pinMode(4, OUTPUT);
}
void loop() {
  digitalWrite(4, HIGH);
  delay(1000);
  digitalWrite(4, LOW);
  delay(1000);
}
As mentioned earlier, there’s no need to select a port for uploading. Simply keep the AVRISP mkII connected and hit Upload. That should do the job.
Conclusion
And there you have it! With just a few cents and a bit of effort, you’ve created a semi-functional Arduino. The ATtiny13A is your gateway to affordable microcontroller projects. So go ahead, and impress your friends with your dirt cheap DIY Arduino skills!

Leave a Reply